If this crust comes out a little crooked or cracked or not Instagram-worthy, congrats. You did it right. This pizza isn’t about perfection. It’s about showing up hungry, trying anyway, and laughing when the oven timer goes off and you forgot what you were doing.
If it’s not perfect the first time, that’s kind of the point. That’s mostly what this blog is about anyway.
Ingredients
Method
- Turn the oven on first.
- Set it to 350°F (176°C). I forget this step more than I’d like to admit, so I’m saying it again.
- Wake up the yeast.
- In a small bowl, mix the yeast with ¾ cup warm water. Let it sit for 5 minutes.
- After a couple minutes, sprinkle in 1 tablespoon of the sugar and let it get foamy.
- Mix the dry stuff.
- In a larger bowl, whisk together the gluten free flour, salt, baking powder, and the remaining sugar.
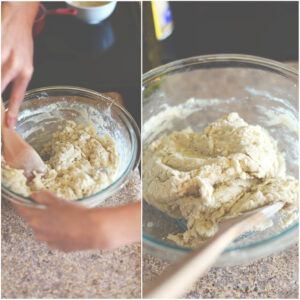
- Bring it together.
- Make a little well in the dry mix. Pour in the yeast mixture, olive oil, and the remaining ½ cup warm water.
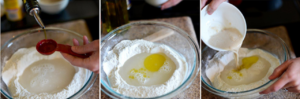
- Stir with a wooden spoon until it looks like sticky dough and not soup.
- Shape the crust.
- Grease a baking sheet or pizza stone generously.
- Spread the dough out using your hands, starting from the center and pushing outward.
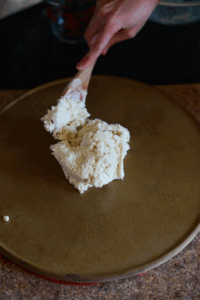
- If it sticks, sprinkle a little brown rice flour on your hands.
- Keep it thin, less than ¼ inch if possible.
- Par-bake the crust.
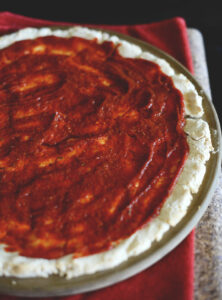
- Bake for 20 to 25 minutes, until it looks dry and slightly cracked.
- Cracks are normal. Panic is not required.
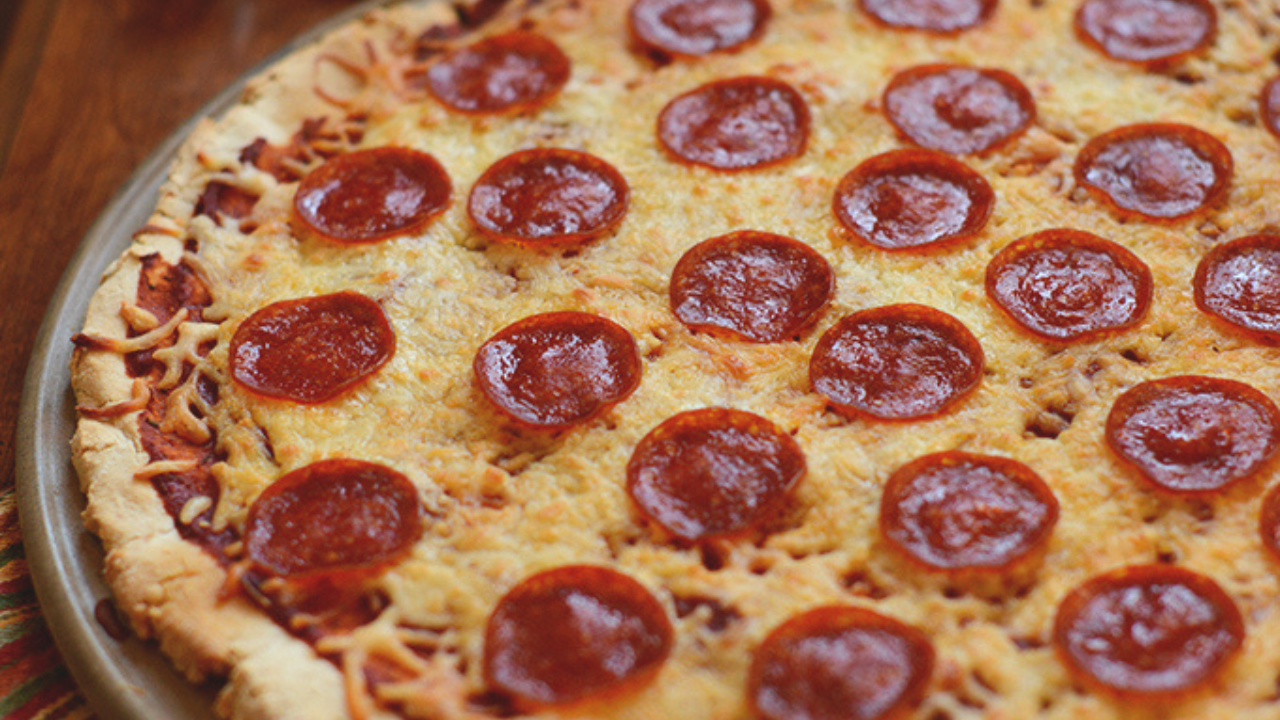
- Add toppings.
- Take it out, add sauce, cheese, and whatever toppings you’re feeling that day.
- Bake again.

- Put it back in the oven for 15 to 25 minutes, until the edges are lightly golden and the toppings are warm and bubbly.
- Slice and eat immediately.

- Waiting is optional. I usually don’t.