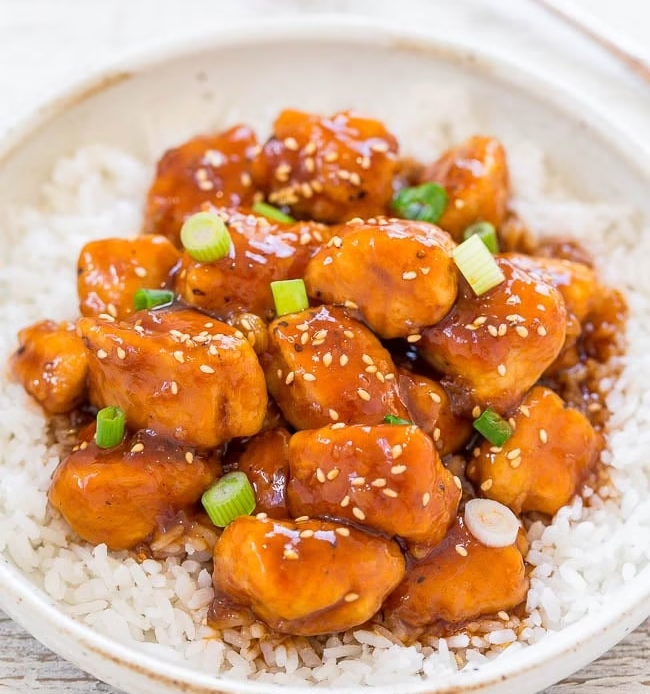
Sweet and sour chicken is one of those takeout classics that lives rent-free in my head. You know the kind. Sticky, shiny, a little tangy, a little sweet, and somehow always better when eaten out of a slightly crushed container on the couch.
One night I really wanted it, but also really didn’t want to put on real pants and leave the house. So I figured, “How hard can it be?” Famous last words.
Fifteen minutes later, I had a pan of glossy chicken coated in this bright, punchy sauce that smelled exactly like comfort and questionable life choices. It wasn’t perfect. A piece or two was more golden than planned. The sauce almost boiled over because I got distracted checking my phone.
But when I tasted it, I knew this one was a keeper. Takeout vibes, home kitchen chaos, zero regrets.
Why I Keep Making This Dish (The Real Reasons)
- Faster Than Delivery: By the time an app loads, this is almost done.
- That Sauce Though: Sweet, tangy, garlicky, and clingy in the best way.
- One Pan Energy: Less cleanup, more couch time.
- Hard to Mess Up: Even when I overcook a piece, it’s still good.
- Great for Rice: The sauce soaks in like it was born for it.
- Weeknight Hero: Fifteen minutes and dinner is handled.
- Leftovers Are Solid: Still tasty the next day.
Tips I Learned the Hard Way
- Cut Chicken Evenly: Same size pieces cook at the same speed. Science.
- Don’t Skip the Cornstarch Coating: It helps the sauce grab on.
- Watch the Sauce: It thickens fast once the cornstarch goes in.
- Whisk the Slurry Well: Lumpy sauce is not the vibe.
- Medium-High Heat for Chicken: You want color, not steam.
- Lower Heat Before Adding Sauce: So it doesn’t burn or seize.
- Taste Before Serving: Sweet and sour is personal. Adjust if needed.
Variations You Can Mess Around With
- Pineapple Party: Toss in chunks for classic vibes.
- Spicy Mood: Add chili flakes or a squirt of sriracha.
- Veggie Boost: Bell peppers, onions, or snap peas.
- Thigh Swap: Use chicken thighs for extra juiciness.
- Less Sweet: Cut the sugar a bit if you like more tang.
- Extra Sticky: Let it simmer another minute to thicken.
- No Soy: Use coconut aminos instead.
How To Make Sweet and Sour Chicken?
Ingredients
For the Sauce
- 3/4 cup granulated sugar
- 1/2 cup apple cider vinegar
- 1/4 cup ketchup
- 2 tablespoons low-sodium soy sauce
- 1 tablespoon sesame oil
- 1 tablespoon packed light brown sugar
- 3 cloves garlic, minced
- 2 tablespoons cold water
- 1 tablespoon cornstarch
For the Chicken
- About 1.25 pounds boneless, skinless chicken breasts, cut into 1-inch pieces
- 3 tablespoons cornstarch
- Salt and pepper, to taste
- 3 to 4 tablespoons olive oil
- Sliced green onions, for topping
- Sesame seeds, for topping
Instructions
Step 1:
Start with the sauce. Add the sugar, vinegar, ketchup, soy sauce, sesame oil, brown sugar, and garlic to a medium saucepan. Whisk everything together and bring it to a boil over medium-high heat.
Step 2:
In a small bowl, mix the cold water and cornstarch until smooth. Pour this into the boiling sauce, lower the heat, and let it gently simmer for about 5 minutes, whisking now and then, until it thickens.
Step 3:
While the sauce does its thing, put the chicken pieces in a large zip-top bag. Add the cornstarch, salt, and pepper. Seal it and shake until the chicken is evenly coated.
Step 4:
Heat the olive oil in a large skillet over medium-high heat. Add the chicken and cook for about 5 to 7 minutes, stirring and flipping so it browns evenly and cooks through. Add a little more oil if the pan looks dry.
Step 5:
Once the chicken is cooked, lower the heat and pour the sauce over it. Stir until every piece is coated and let it simmer together for a minute or two.
Step 6:
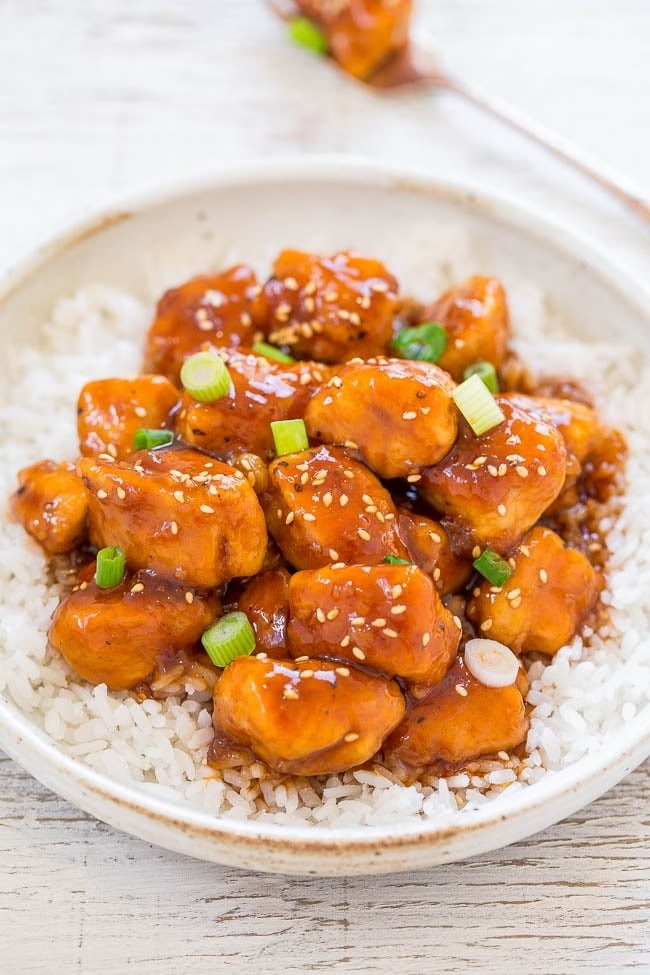
Finish with green onions and sesame seeds if you like, and serve right away.
Sweet and Sour Chicken Recipe
Ingredients
Method
- Start with the sauce. Add the sugar, vinegar, ketchup, soy sauce, sesame oil, brown sugar, and garlic to a medium saucepan. Whisk everything together and bring it to a boil over medium-high heat.
- In a small bowl, mix the cold water and cornstarch until smooth. Pour this into the boiling sauce, lower the heat, and let it gently simmer for about 5 minutes, whisking now and then, until it thickens.
- While the sauce does its thing, put the chicken pieces in a large zip-top bag. Add the cornstarch, salt, and pepper. Seal it and shake until the chicken is evenly coated.
- Heat the olive oil in a large skillet over medium-high heat. Add the chicken and cook for about 5 to 7 minutes, stirring and flipping so it browns evenly and cooks through. Add a little more oil if the pan looks dry.
- Once the chicken is cooked, lower the heat and pour the sauce over it. Stir until every piece is coated and let it simmer together for a minute or two.
- Finish with green onions and sesame seeds if you like, and serve right away.
Notes
Nutritional Information
| Nutrition | Value |
| Calories | 514 kcal |
| Carbohydrates | 54 gm |
| Fat | 19 gm |
| Protein | 32 gm |
** Nutrient information is not available for all ingredients. Amount is based on available nutrient data.
(-) Information is not currently available for this nutrient. If you are following a medically restrictive.
How I Like to Serve This
- Over a big bowl of white rice.
- With fried rice when I’m extra hungry.
- Next to steamed broccoli to feel responsible.
- In a bowl on the couch.
- For quick family dinners.
- Straight from the pan for “taste testing.”
Storage, Leftovers, and Next-Day Thoughts
- Fridge Friendly: Keeps up to 5 days in an airtight container.
- Reheats Well: Microwave or skillet both work.
- Sauce Thickens More: Add a splash of water if needed.
- Still Tasty Cold: Not ideal, but I’ve done it.
- Best Fresh: The chicken stays crispiest on day one.
FAQs (Real Questions People Actually Ask)
Can I use chicken thighs?
Yes, they work great and stay extra juicy.
Is it very sweet?
It’s sweet and tangy, but you can reduce the sugar a bit.
Can I make the sauce ahead?
Absolutely. It keeps well in the fridge.
What if my sauce is too thick?
Add a splash of water and stir.
Can I add vegetables?
Yes. Bell peppers and onions are classics.
Is this spicy?
No, but you can make it spicy easily.
Can I freeze it?
You can, but the texture is best fresh.