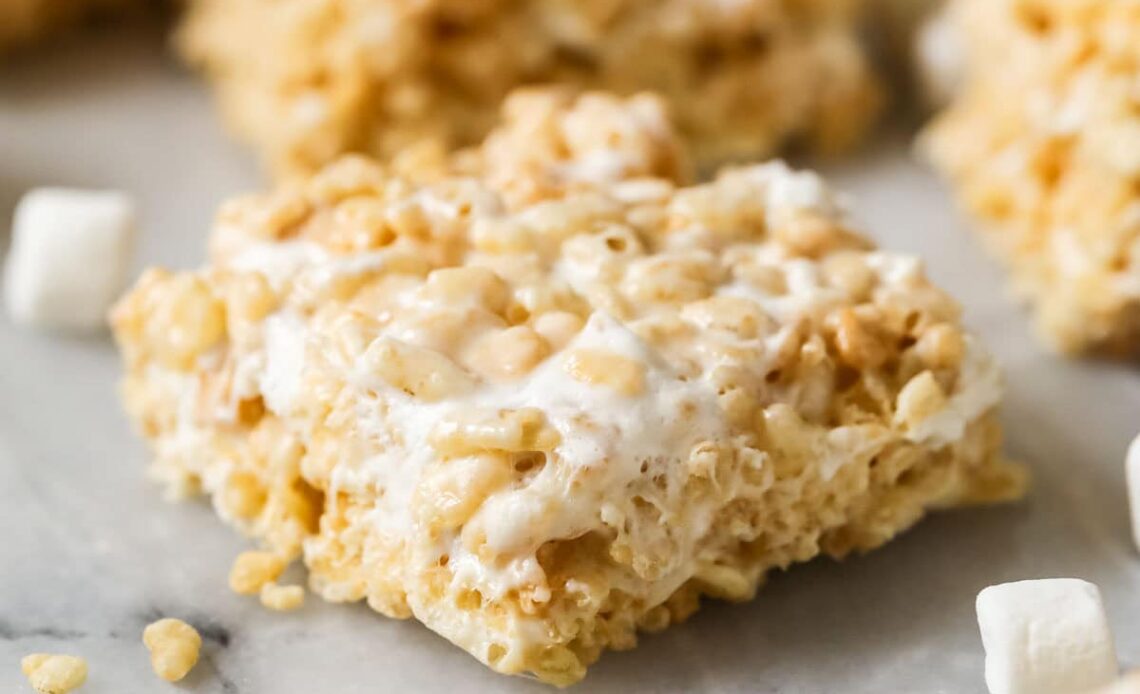
Rice Krispie Treats are the definition of low effort, high reward. This is the dessert you make when you don’t want to bake but still want something sweet, nostalgic, and borderline addictive.
I’ve made these for parties, last-minute school things, random Tuesday cravings, and once at 10 PM because I found marshmallows in the pantry and took that as a sign. The smell of melted butter and marshmallows alone is worth it.
They’re simple. They’re sticky. They disappear fast.
Why I Keep Making This Dish (The Real Reasons)
- No oven required: Huge win.
- 20-minute dessert: Practically instant gratification.
- Crowd favorite: Kids and adults both attack the pan.
- Customizable: Sprinkles, chocolate, mix-ins.
- Beginner-proof: Hard to mess up if you don’t rush.
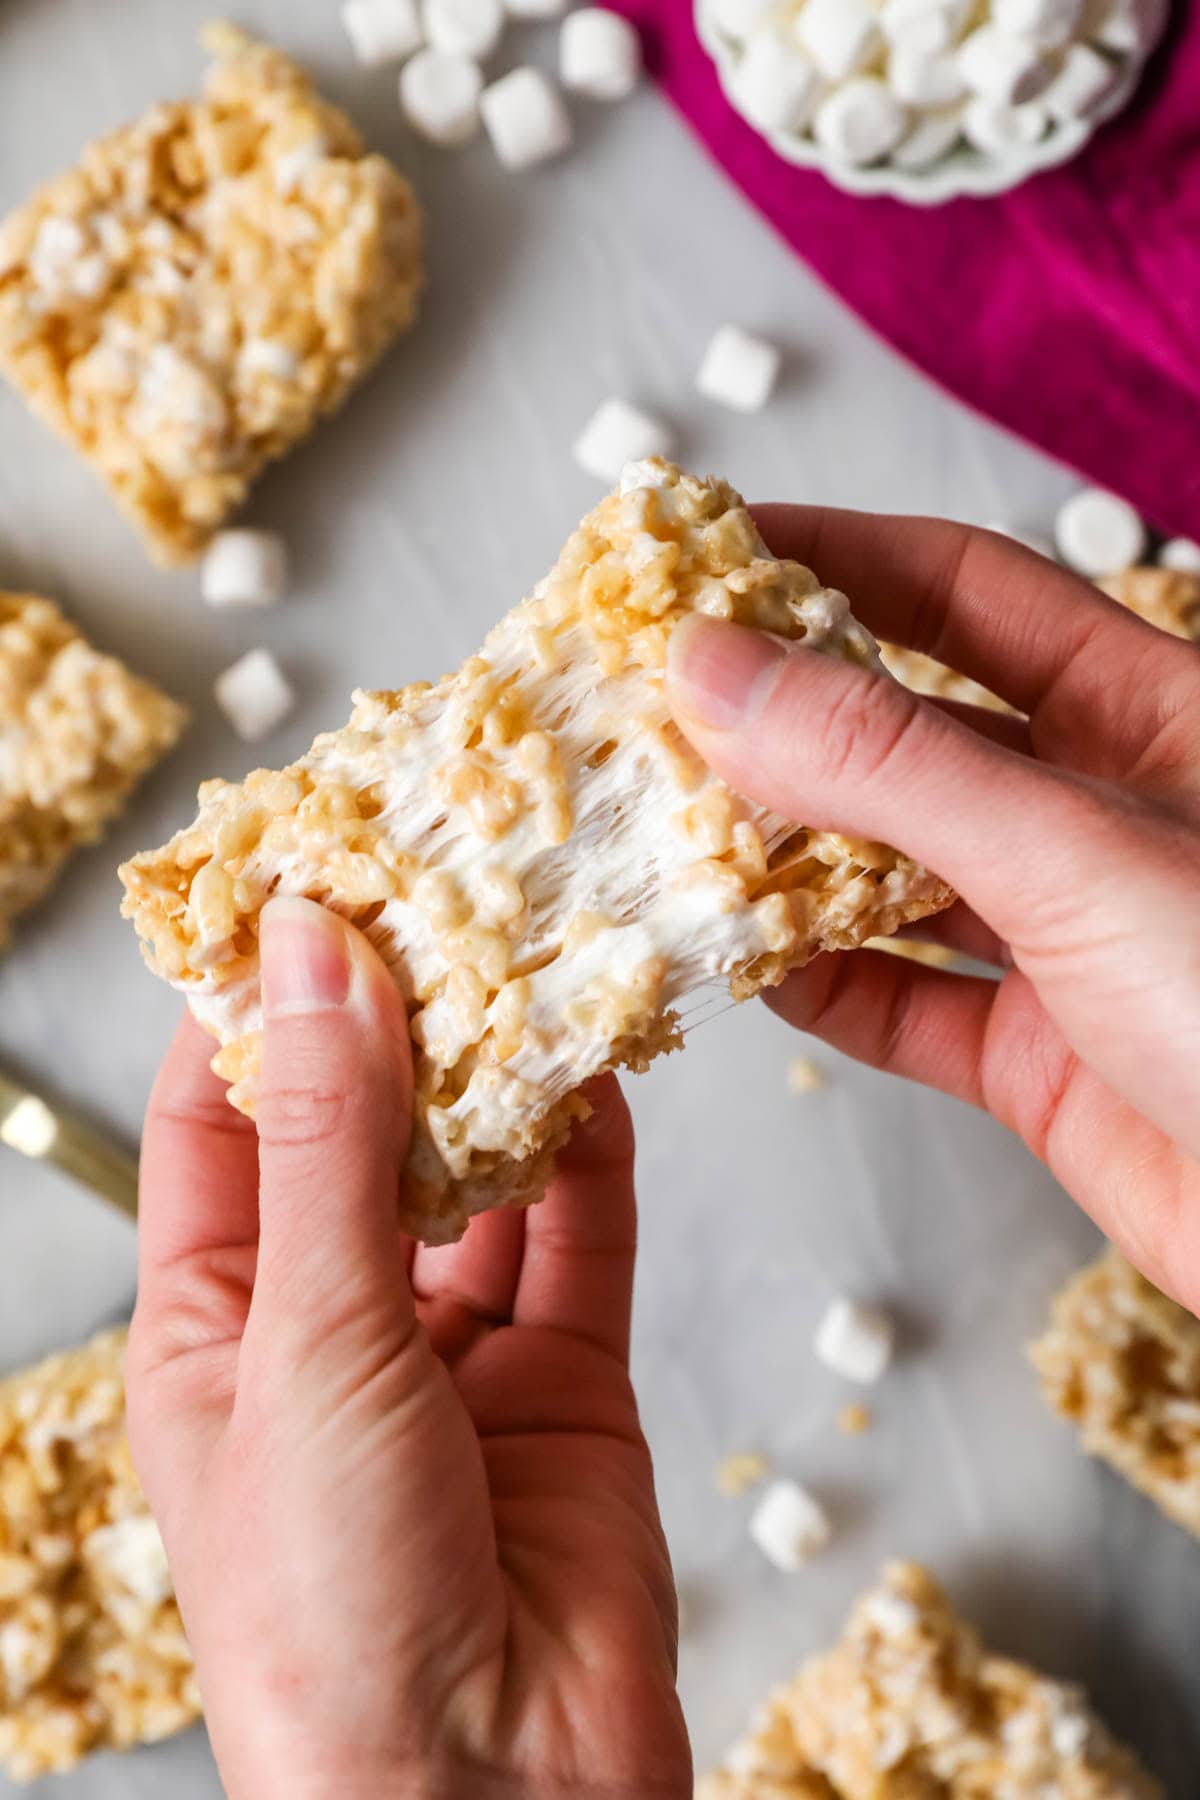
- Soft and chewy: When done right, they’re perfect.
- Minimal cleanup: One pot and one pan.
Tips I Learned the Hard Way
- Low heat only: High heat makes them rock hard.
- Don’t over-stir: Gentle mixing keeps them soft.
- Don’t pack too tight: Press lightly into the pan.
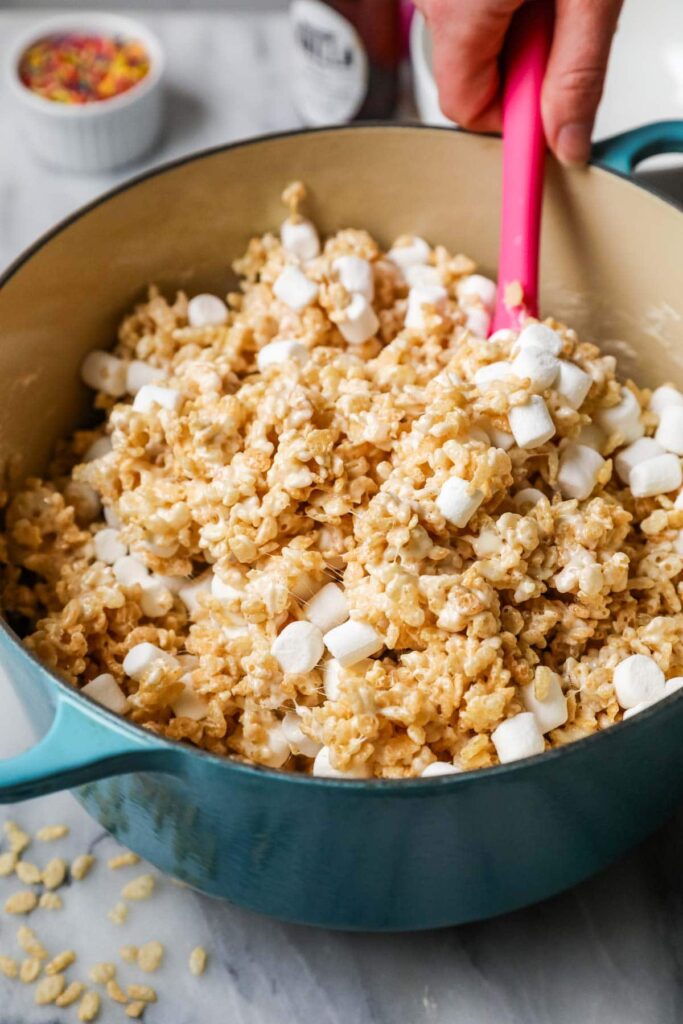
- Save some marshmallows: Stir in extras at the end for gooey pockets.
- Grease everything: Spatulas, hands, pan. Trust me.
- Let them cool fully: Cutting too early makes a mess.
- European butter adds depth: It really does taste better.
- Room temp storage only: Fridge makes them firm.
Variations You Can Mess Around With
- Chocolate drizzle: After cooling.
- Brown butter version: For a nutty twist.
- Peanut butter swirl: Stir some in with the marshmallows.
- Holiday sprinkles: Match the theme.
- Mini marshmallow topping: Press a few on top before setting.
- Salted top finish: Tiny pinch of flaky salt.
- Cereal mix-in: Swap 1 cup with Cocoa Krispies.
How To Make Rice Krispie Treats?
Ingredients
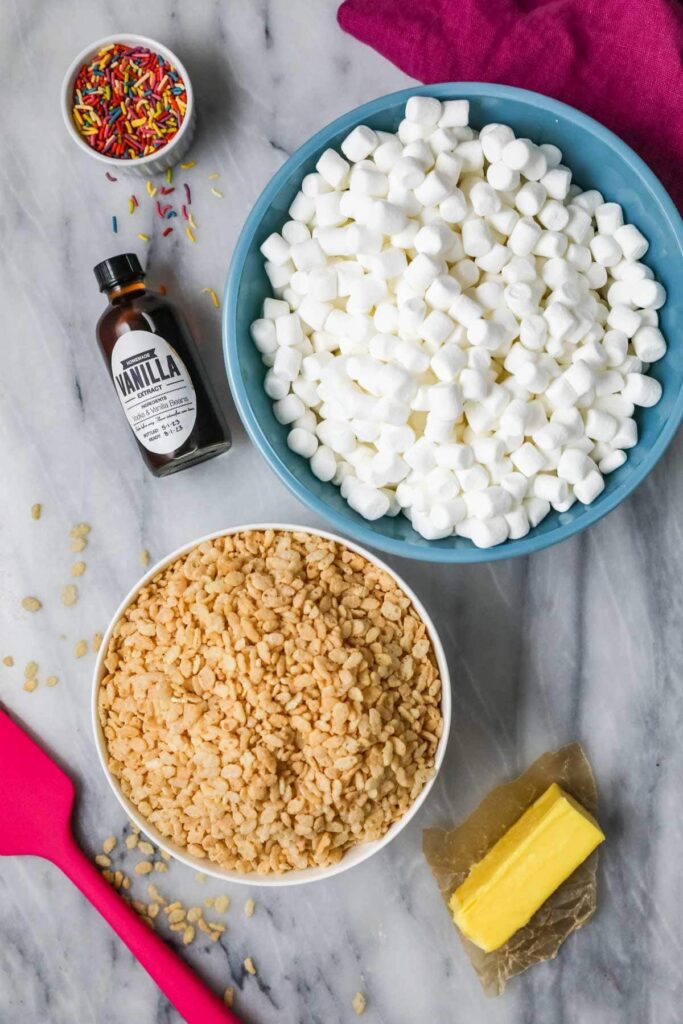
- 6 tablespoons (85 g) salted butter, cut into pieces
- 15 oz (425 g) miniature marshmallows
- 1 teaspoon pure vanilla extract
- 6 cups (175 g) Rice Krispies cereal
- 3 tablespoons colored sprinkles (optional)
Equipment
- 13×9 pan
- Large Saucepan
- Silicone Spatula
Instructions
Step 1:
Lightly grease a 13×9 pan with butter or line it with parchment paper and set aside.
Step 2:
Place the butter in a large saucepan over medium-low heat and stir occasionally until completely melted.
Step 3:
Add about 10 oz of the marshmallows and stir frequently until just melted and smooth. Keep the heat below medium to prevent the mixture from becoming too firm later.
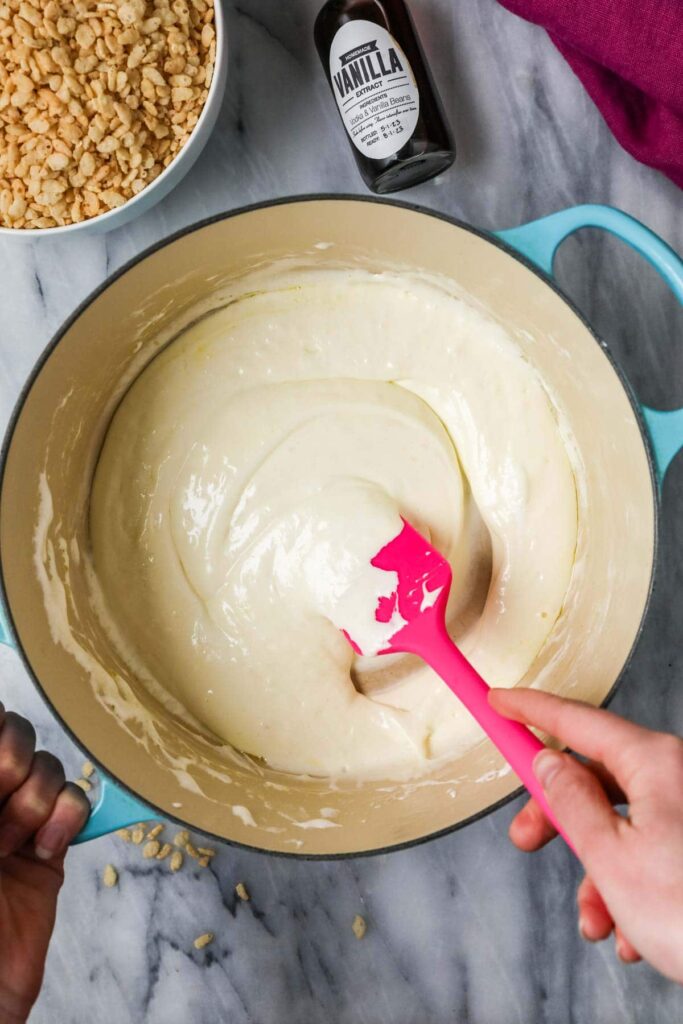
Step 4:
Stir in the vanilla extract.
Step 5:
Add the Rice Krispies cereal and the remaining marshmallows. Stir gently until everything is combined and the added marshmallows are just beginning to melt.
Step 6:
Sprinkle in the colored sprinkles and briefly stir to distribute.
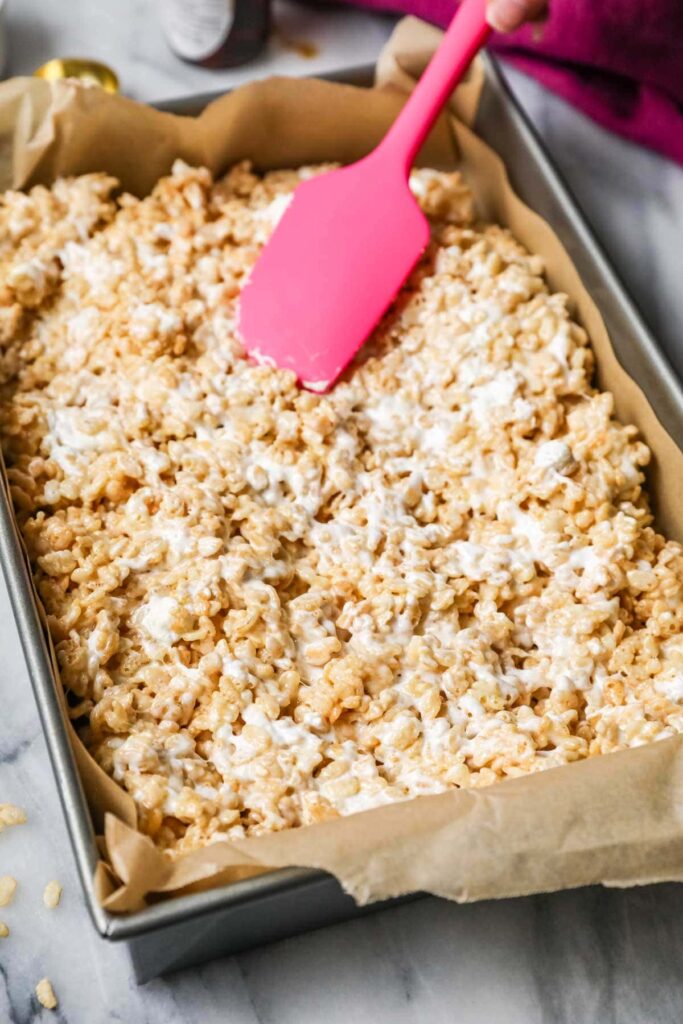
Step 7:
Immediately transfer the mixture into the prepared pan. Using a silicone spatula or lightly greased hands, gently press the mixture evenly into the pan without packing it down too firmly.
Step 8:
Allow the treats to cool completely at room temperature for about 30 to 60 minutes before cutting into squares.

Rice Krispie Treats Recipe
Ingredients
Equipment
Method
- Lightly grease a 13×9 pan with butter or line it with parchment paper and set aside.
- Place the butter in a large saucepan over medium-low heat and stir occasionally until completely melted.
- Add about 10 oz of the marshmallows and stir frequently until just melted and smooth. Keep the heat below medium to prevent the mixture from becoming too firm later.
- Stir in the vanilla extract.
- Add the Rice Krispies cereal and the remaining marshmallows. Stir gently until everything is combined and the added marshmallows are just beginning to melt.
- Sprinkle in the colored sprinkles and briefly stir to distribute.
- Immediately transfer the mixture into the prepared pan. Using a silicone spatula or lightly greased hands, gently press the mixture evenly into the pan without packing it down too firmly.
- Allow the treats to cool completely at room temperature for about 30 to 60 minutes before cutting into squares.
Notes
Nutritional Information
| Nutrition | Value |
| Calories | 134 kcal |
| Carbohydrates | 24 gm |
| Fat | 3.5 gm |
| Protein | 01 gm |
Note: Nutritional values are approximate and may vary depending on ingredient size, quality, brand, location, and the proportions used. All nutritional information is calculated on a per-serving basis.
If you are following a medically restrictive diet, please consult your doctor or registered dietitian before preparing this recipe for personal consumption.
How I Like to Serve This
- Classic squares: No fuss, straight from the pan.
- Party tray: With extra sprinkles on top.
- After-school snack: Always a hit.
- Lunchbox addition: Wrapped individually.
- Late-night sweet fix: With zero regrets.
- Stacked on a cake stand: Instant nostalgia display.
Storage, Leftovers, and Next-Day Thoughts
- Room temperature: Store in an airtight container for up to 5 days.
- Do not refrigerate: They’ll firm up too much.
- Separate layers: Use parchment between stacks.
- Best texture: Within the first 48 hours.
- Freezing: Not recommended.
- Softness tip: Add a slice of bread to the container to help retain moisture.
FAQs (Real Questions People Actually Ask)
Why are my treats hard?
The heat was likely too high or they were pressed too firmly.
Can I use large marshmallows?
Yes, just measure by weight.
Do I have to use vanilla?
No, but it adds warmth and depth.
Can I double the recipe?
Yes, use a larger pan.
What butter works best?
Salted butter adds balance.
Can I cut them into shapes?
Yes, once fully cooled.
Why add extra marshmallows at the end?
For gooey texture pockets.